Whoa! You got a new iPad for [insert religious/secular observance here]? That’s awesome! Have you set it up yet? No? Why not?
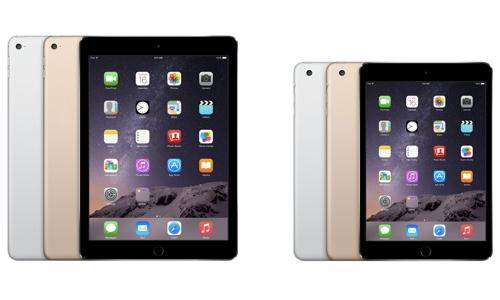
Oh, you need some help? No worries; that’s kind of our thing here. So go grab your iPad (Air or mini, it doesn’t matter) and let’s rock.
Getting started
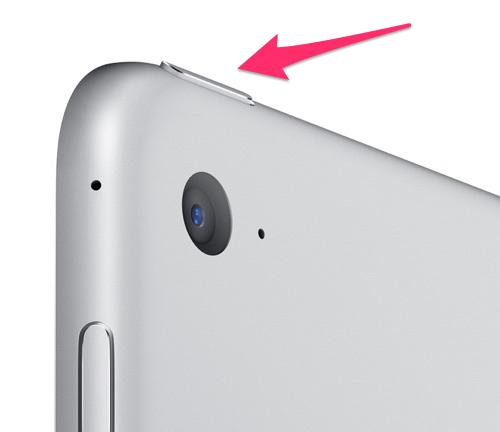
1. Power it up.Once you unwrap your iPad, and breathe in the wonderful scent of fresh electronics, the next thing you’ll want to do is to give your new best friend life. To do that, you’ll have to find the power button on the iPad’s top edge.
Hold the button down for a few seconds until the tablet’s screen lights up with the Apple logo. Don’t get too excited, though; we’ve still got a few more steps ahead of us before your iPad is ready to go.
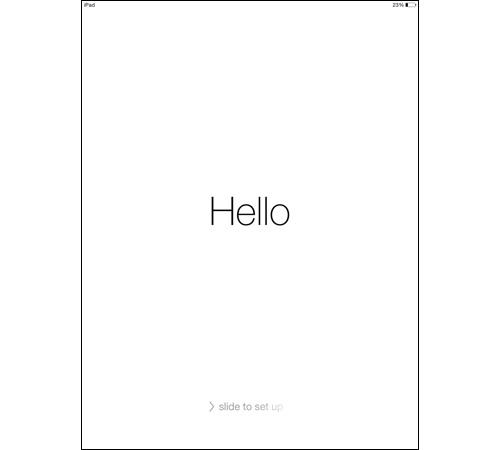
2. The setup.First things first: Let’s configure your iPad. When the onscreen Apple logo disappears, you’ll be greeted by a screen that says “Hello” in a variety of languages. Swipe from left to right, and we can get started.
On the next few pages, you’ll be asked to select your language and country. Next, you’ll want to select your Wi-Fi network.
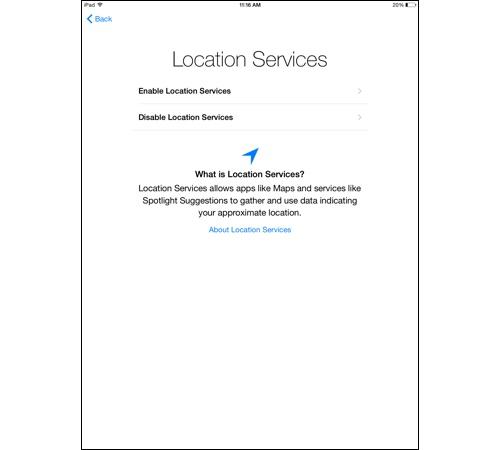
Up next, Location Services. If you’re going to be doing things like checking the weather in your area, or using Apple Maps, then Location Services is worth turning on. If not, keep it switched off, as it will put a serious drain on your iPad’s battery.
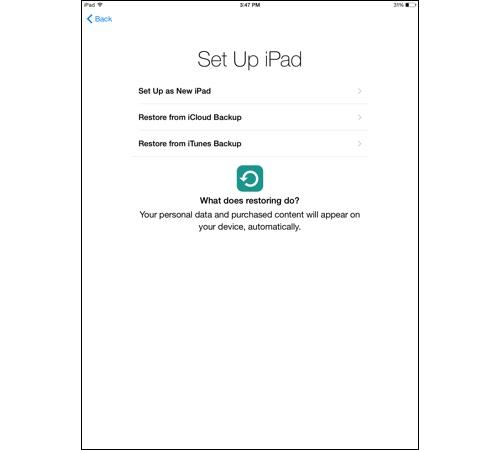
Next you’ll be asked if you want to set up your iPad as a new iPad, or if you want to restore it from an iCloud or iTunes backup. If this is your first iPad, then go with New iPad.
If this is a replacement for an older iPad, then you can restore it with an iCloud or iTunes backup to automatically load all your previously purchased content and personal data onto your new iPad.
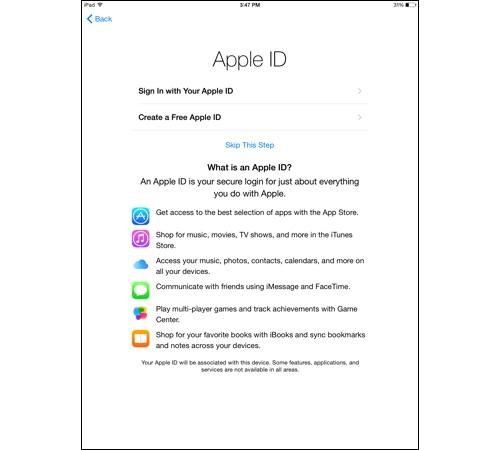
3. Using Apple ID.Let’s talk Apple ID. If you’ve used an Apple product before, chances are you already have one of these. It’s the username and password combination you use to purchase things from the iTunes and App stores. If you have one, just tap Sign In with Your Apple ID so you can use your existing account on your new iPad.
Don’t have an Apple ID? Then you’ll want to tap Create a Free Apple ID and follow the instructions on the following pages to make one.
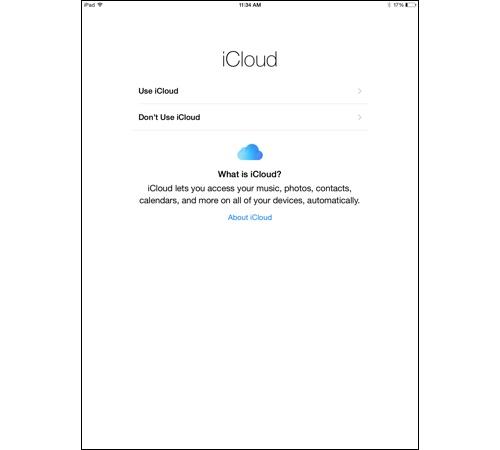
4. iCloud and Find My iPad.Next up, iCloud. Apple’s iCloud lets you save your photos, contacts, music, and other data to the cloud, so that it’s accessible on all your other Apple devices, as well as your Windows PC. Most people will want to enable this feature.
When you enable iCloud, you also automatically turn on Apple’s Find My iPad feature, which can help you locate your tablet if you misplaced it or it’s stolen. If your iPad is pilfered, Find My iPad will also let you lock it and erase it remotely. You definitely want this turned on.
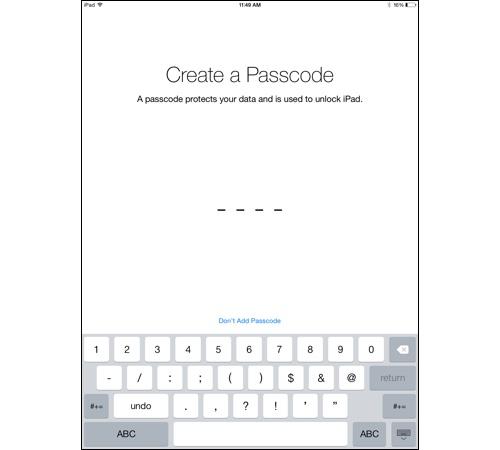
5. Securing your iPad.Passcode and Touch ID are up next. Both features provide you with a means to lock your iPad without anyone else getting in. Passcode is a simple four-digit code that you enter on the iPad’s lock screen to gain access to the slate.
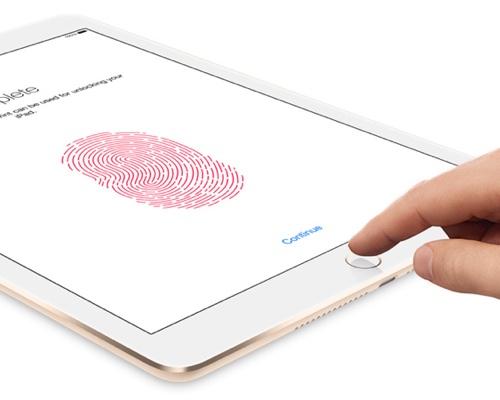
Touch ID is the fingerprint reader built into the iPad Air 2 and iPad mini 3’s Home buttons. But Touch ID isn’t just about locking down your tablet. It can also be used to make secure online purchases.
If you got an Air 2 or mini 3, you’ll definitely want to set up Touch ID. To do so, you’ll have to press the finger you want to register on the Home button multiple times at a variety of angles until the iPad is able to easily read it.
Don’t have an Air 2 or mini 3? Then set up a passcode to secure your iPad.
The next few pages will ask if you want to use Apple’s Siri voice assistant and if you want to send diagnostic information about the iPad to Apple and analytics to app developers to help them improve their apps. Make your selections, and you’re all set to use your new iPad.
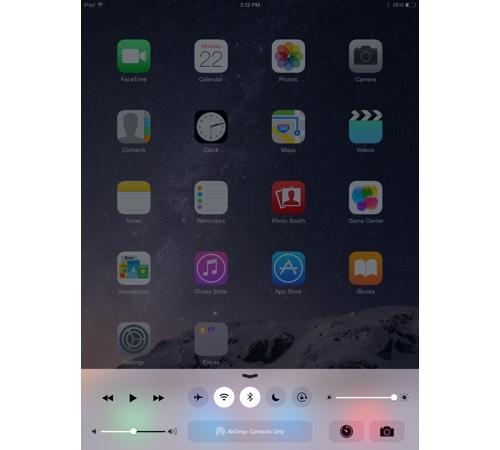
Some quick housekeepingOnce your iPad is ready to go, there are a few things you’ll want to know how to use. The first is the Control Center, which is accessible by swiping one finger up from the bottom of the screen toward the top.
From here, you can quickly toggle your iPad’s Bluetooth, Wi-Fi, Airplane mode, and Do Not Disturb mode. You can also adjust the screen brightness and volume, as well as control music playback and open the Camera app.
If you’re worried about your iPad’s battery life, it’s important to remember that the brighter the screen, the more power it will use. What’s more, if you aren’t using Wi-Fi, Bluetooth, or Location settings, then it’s best to switch them off, as they will all leech your battery’s power. All of that can be accomplished from the Control Center.
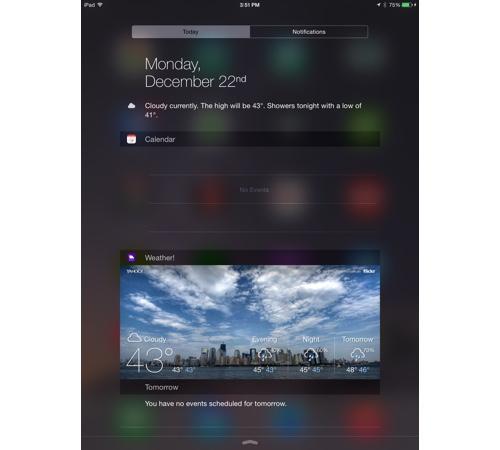
Beyond Control Center, you’ll also want to know how to use the Notifications Center. Accessible by swiping down from the top of the iPad’s home screen, Notifications Center is home to all your app notifications.
From here you can see who’s been messaging you on Facebook and Twitter, as well as check the day’s schedule. And, with iOS 8, you can add app widgets to the Notifications Center that provide you with a snapshot of your favorite apps.
That’s about all you need to know to get started. Want to know more about your sweet new tablet? Check out our guide to iOS 8, and don’t forget to check out our favorite iPad apps for some suggestions on what to download.